*lining comes pre-primed and once installed will require, no more gapping and 2 coats of paint
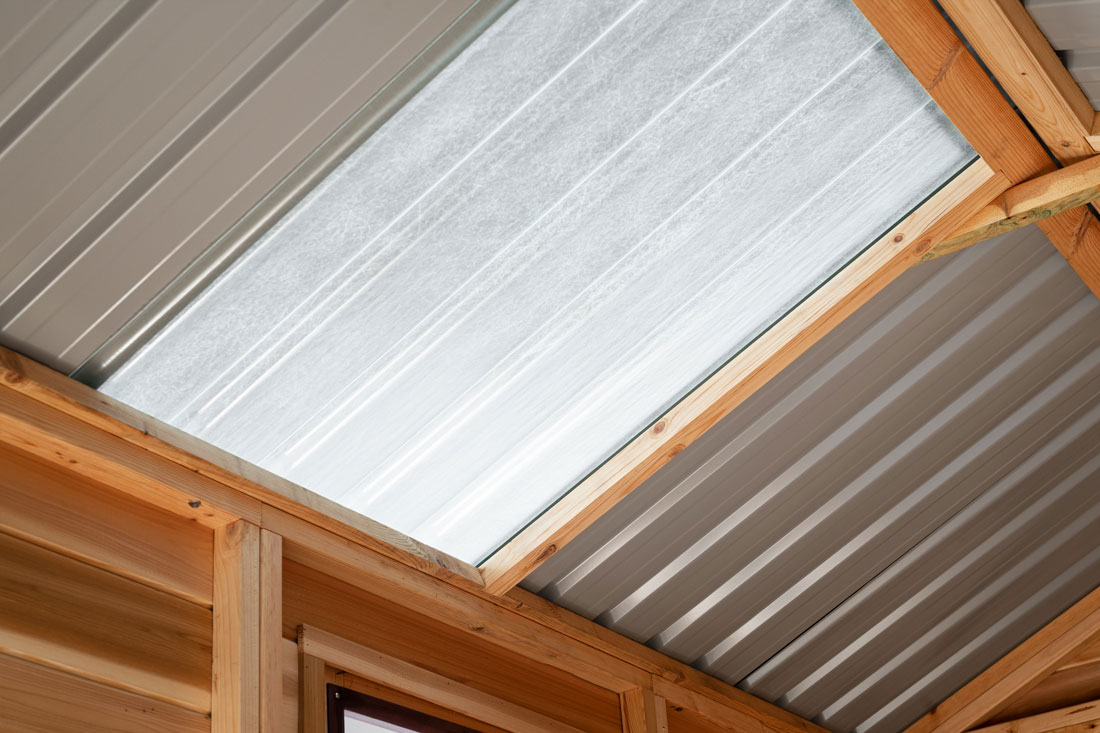
The skylight is a clear fiberglass panel that replaces one colorbond roof sheet.
| Dimensions | |
|---|---|
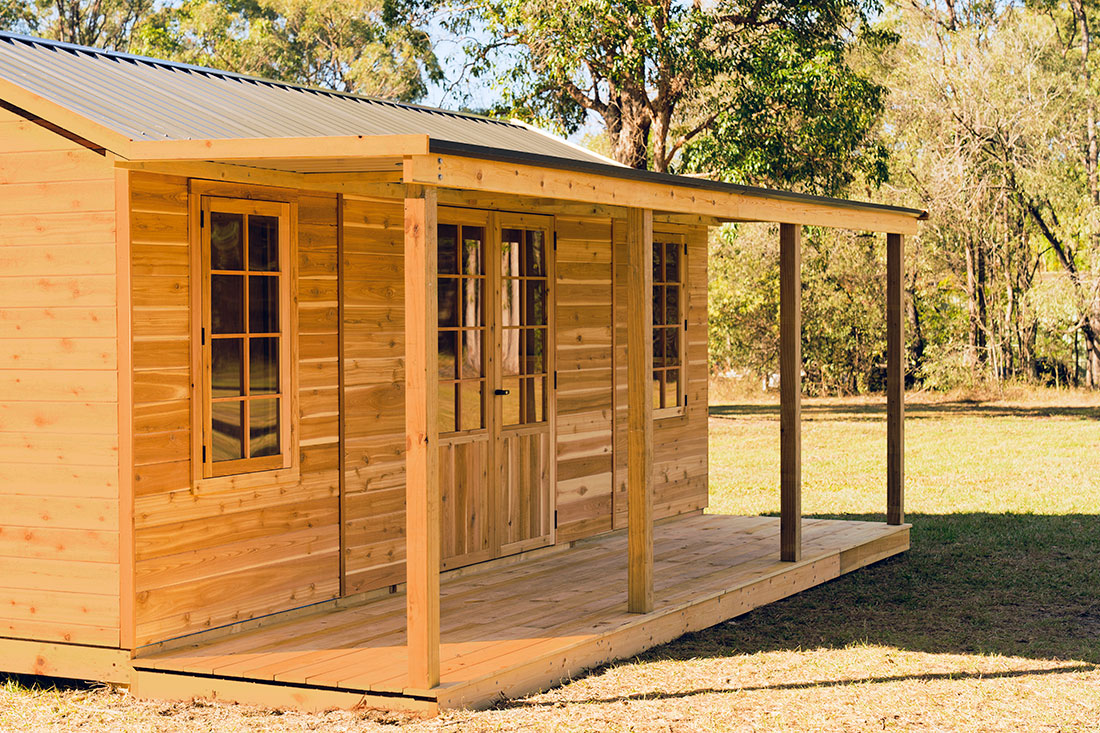
| Windsor | 880 x 760 mm |
| Richmond, Palmwood, Oxford, Hazel, Maple | 1150 x 760 mm |
| Hyland, Glendale, Master, Willow | 1480 x 760 mm |
 Includes an adjusted railing & ground pegs to make provision for a slide to be attached to the Hideout Tower.
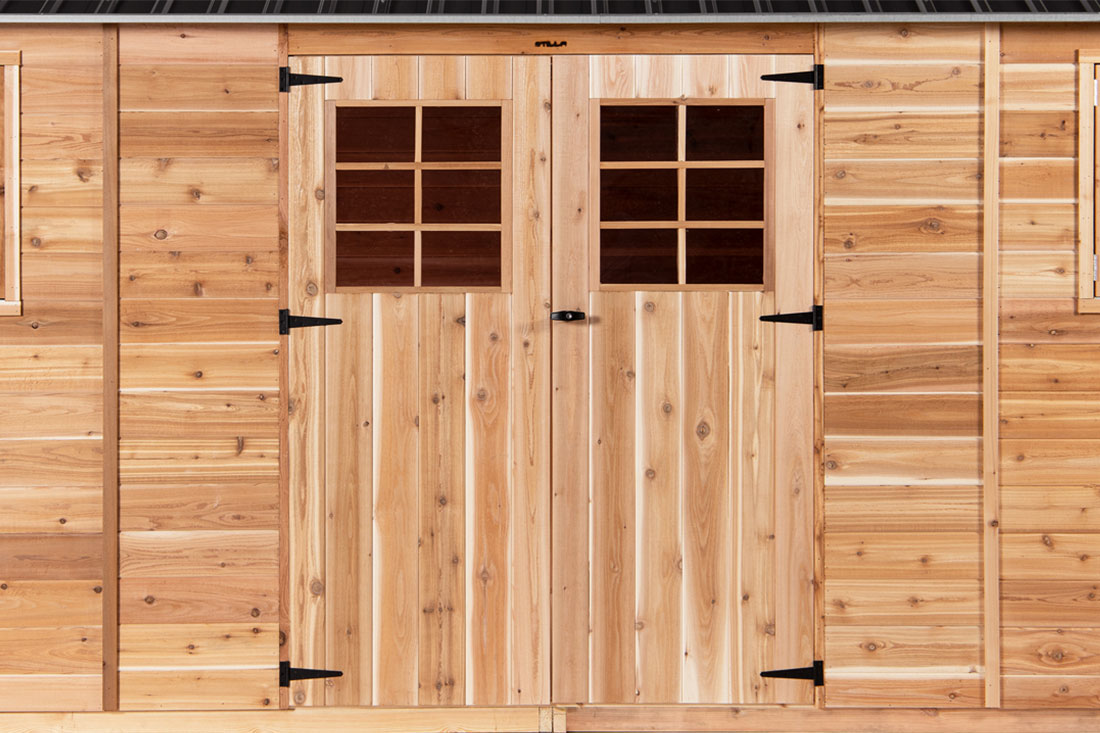

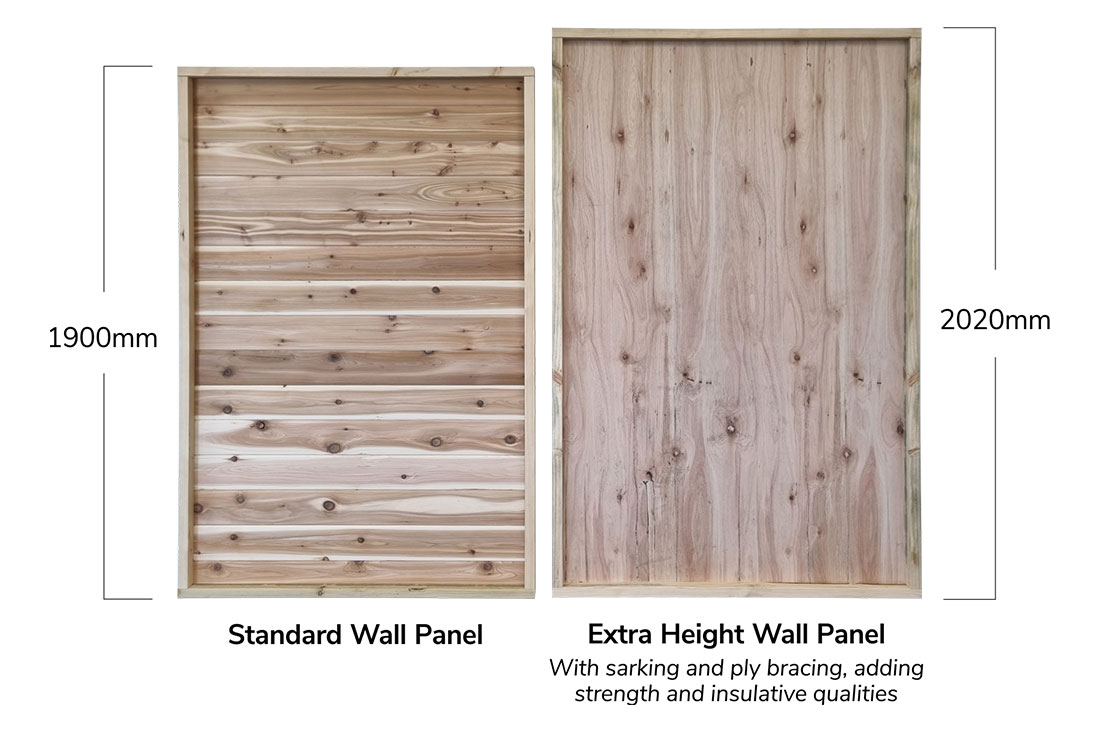
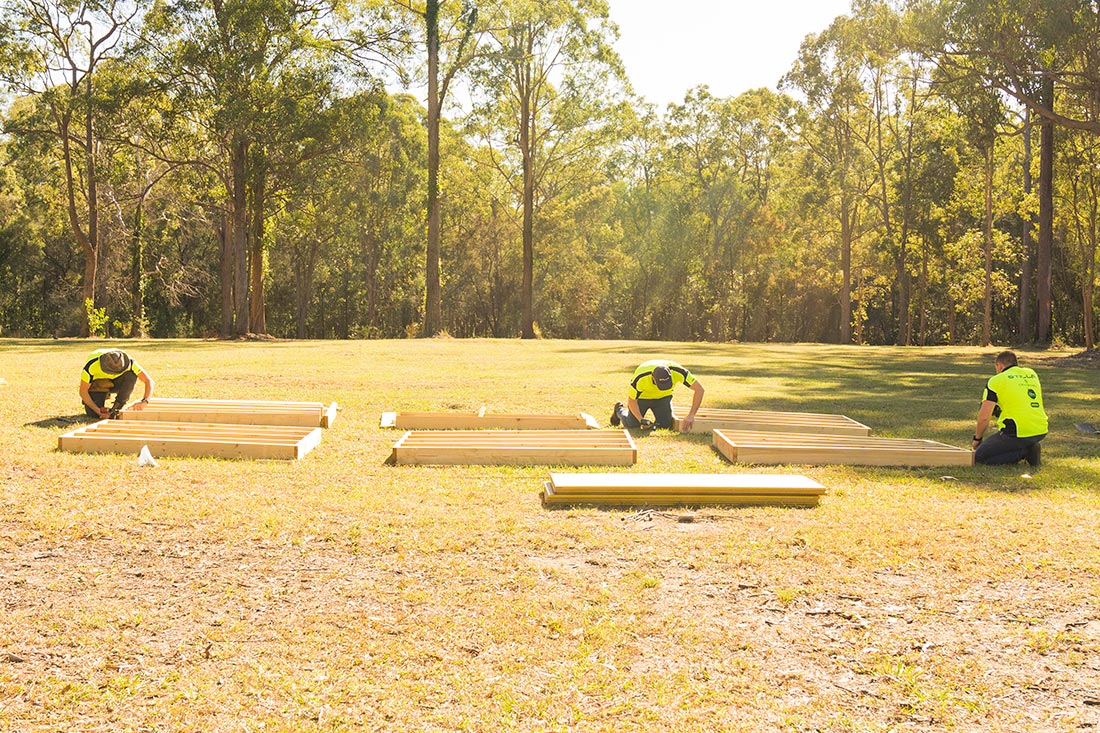
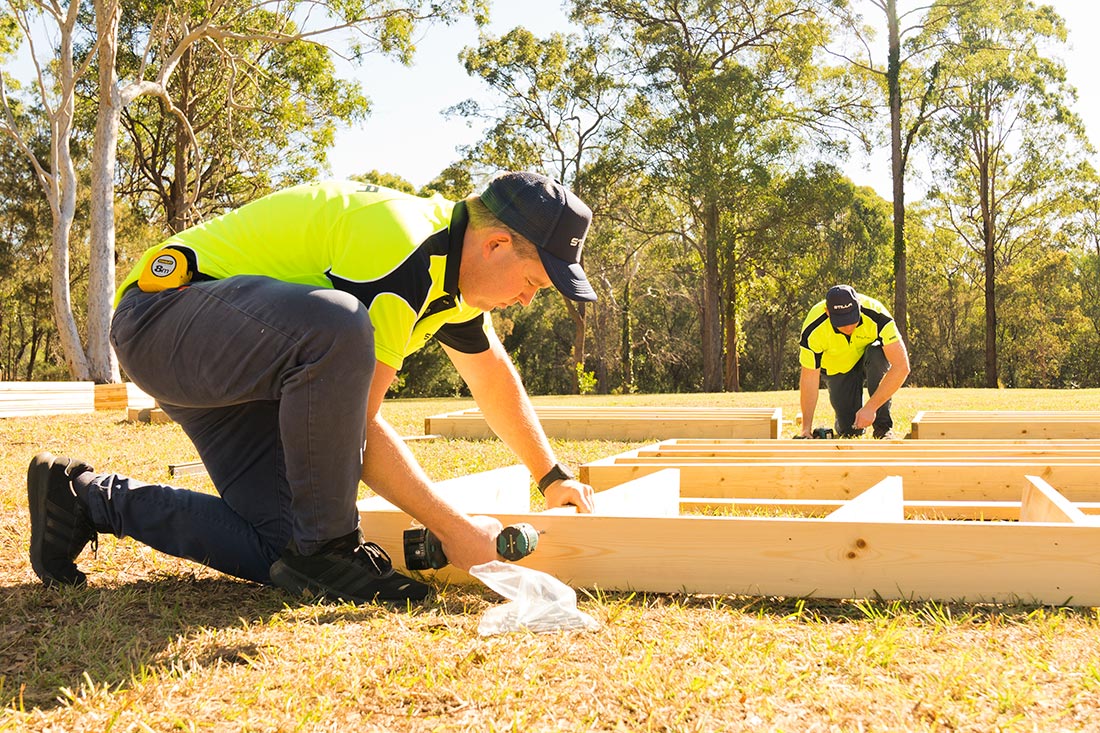
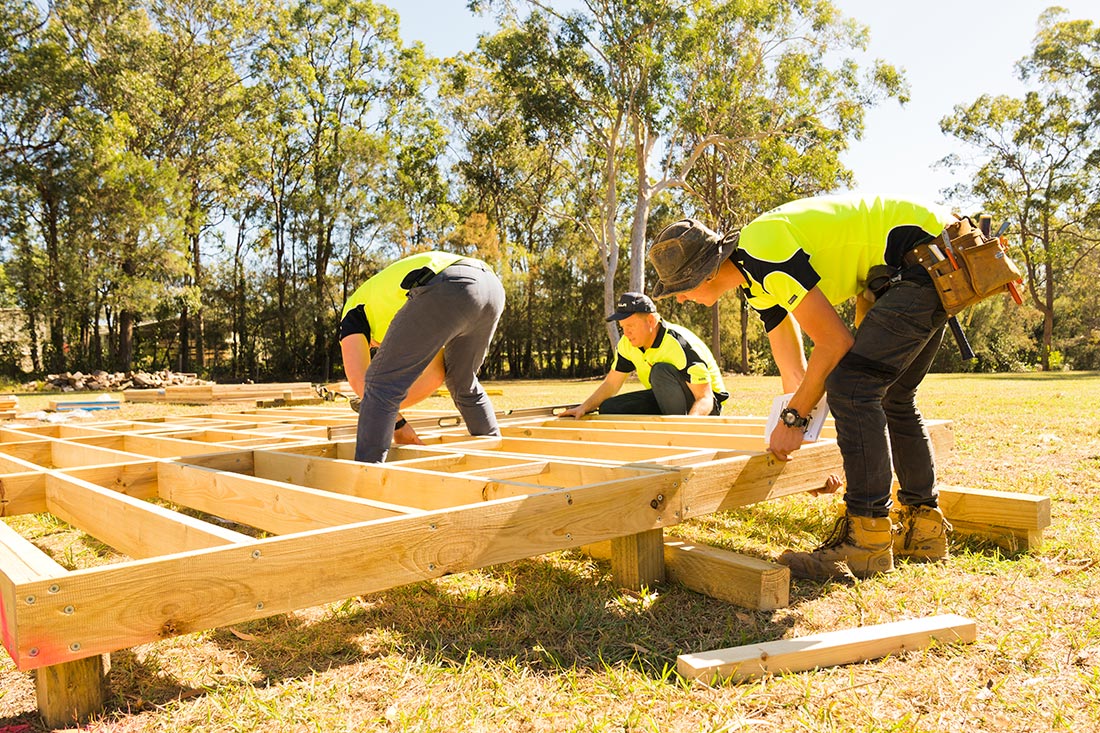
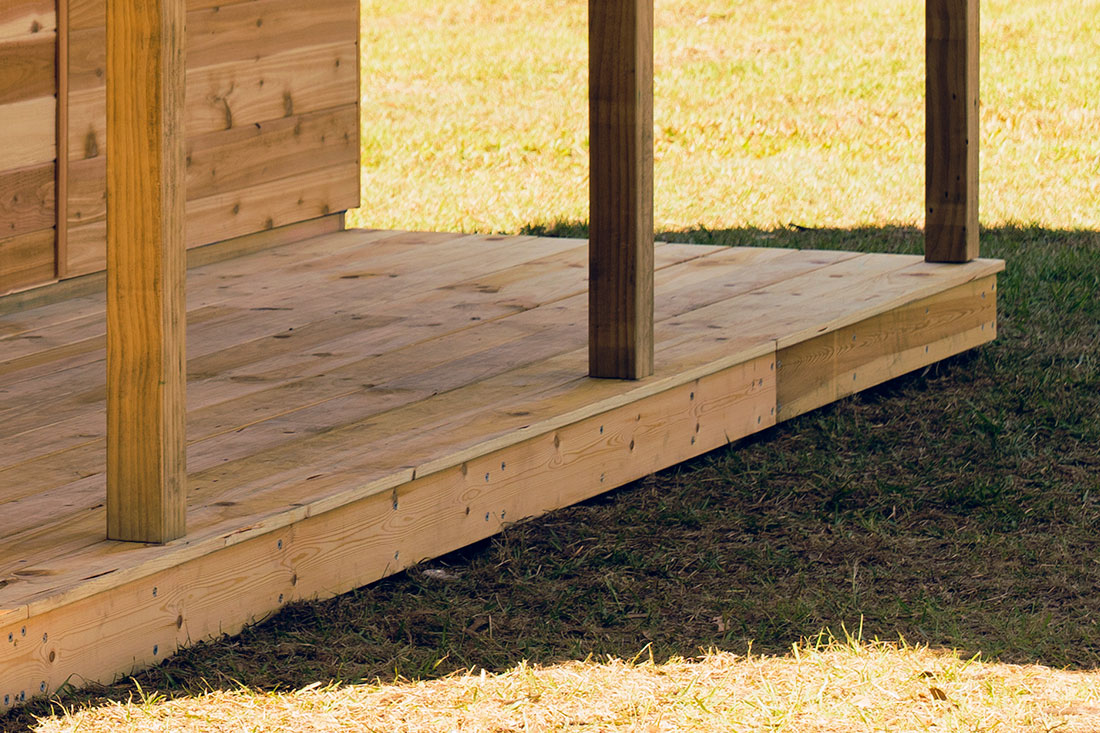
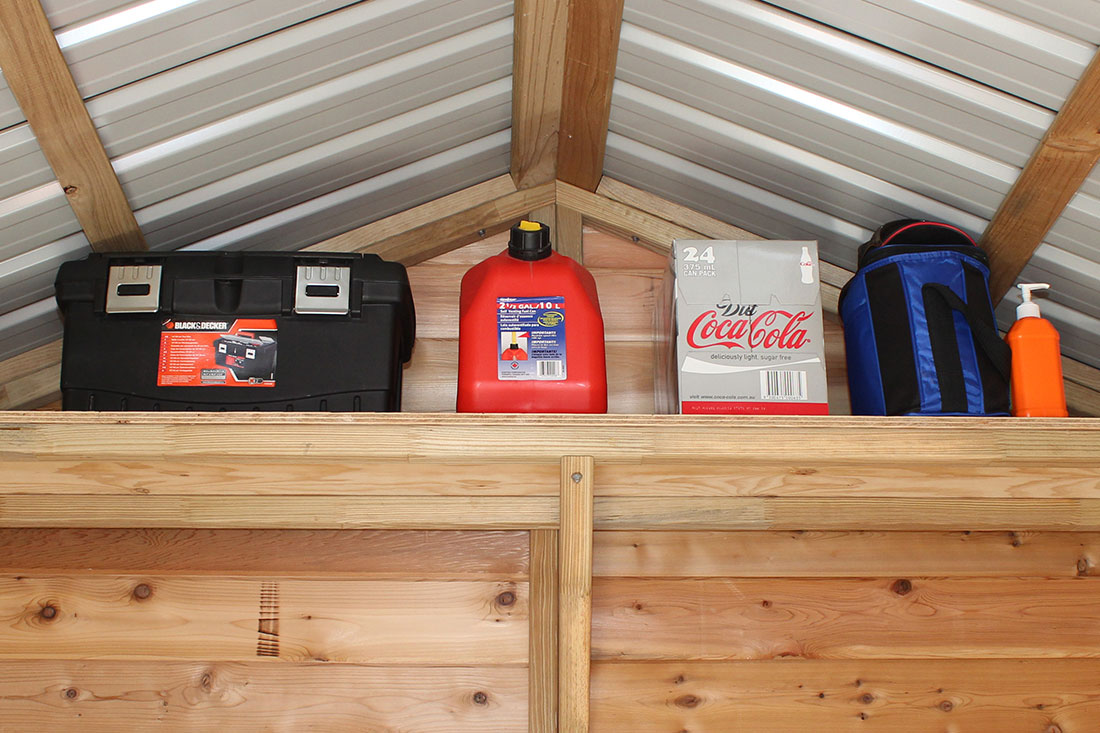
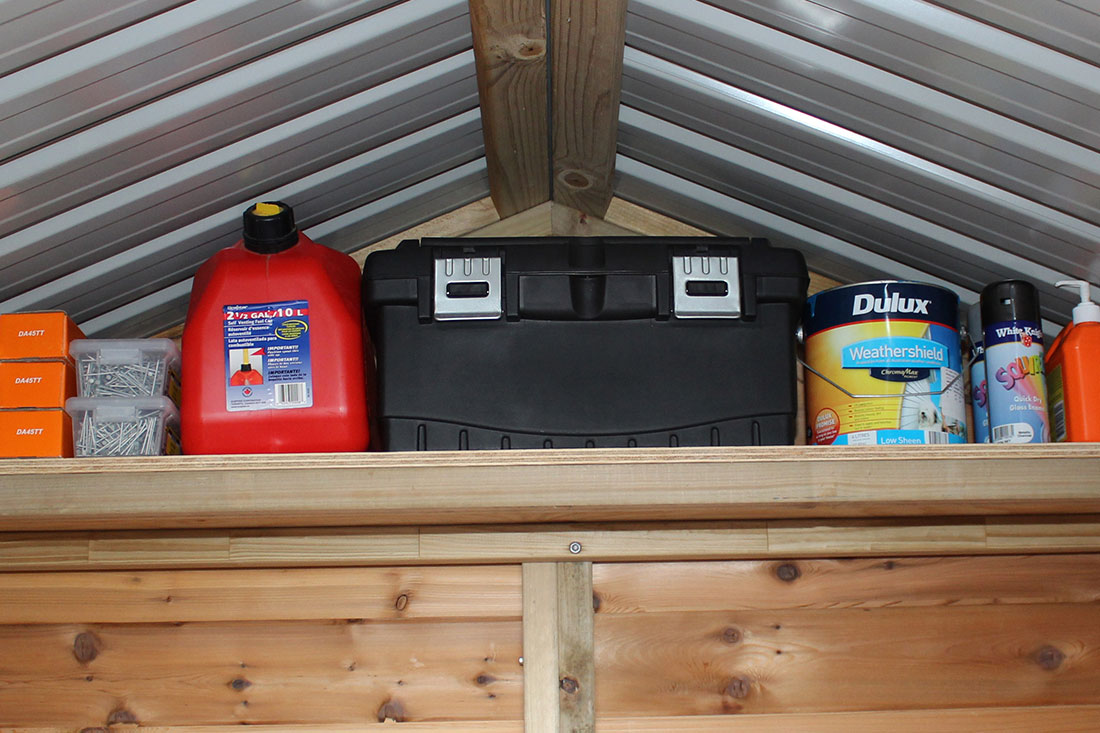
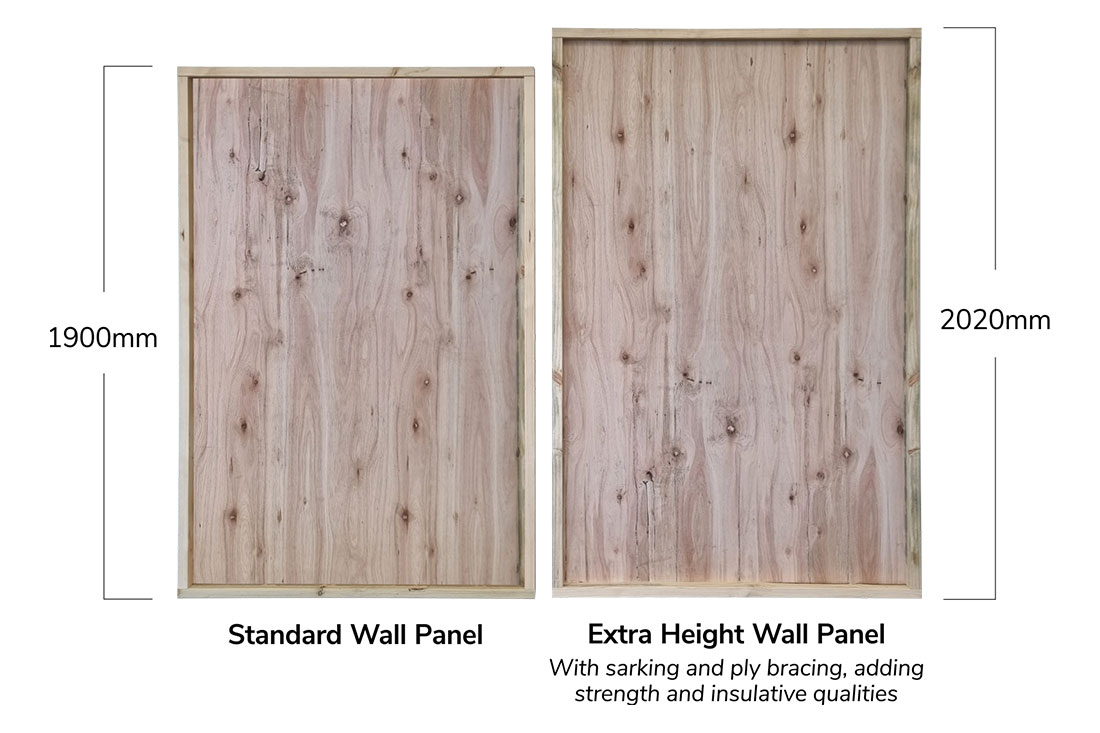
Adding extra height will automatically add ply bracing and sarking.
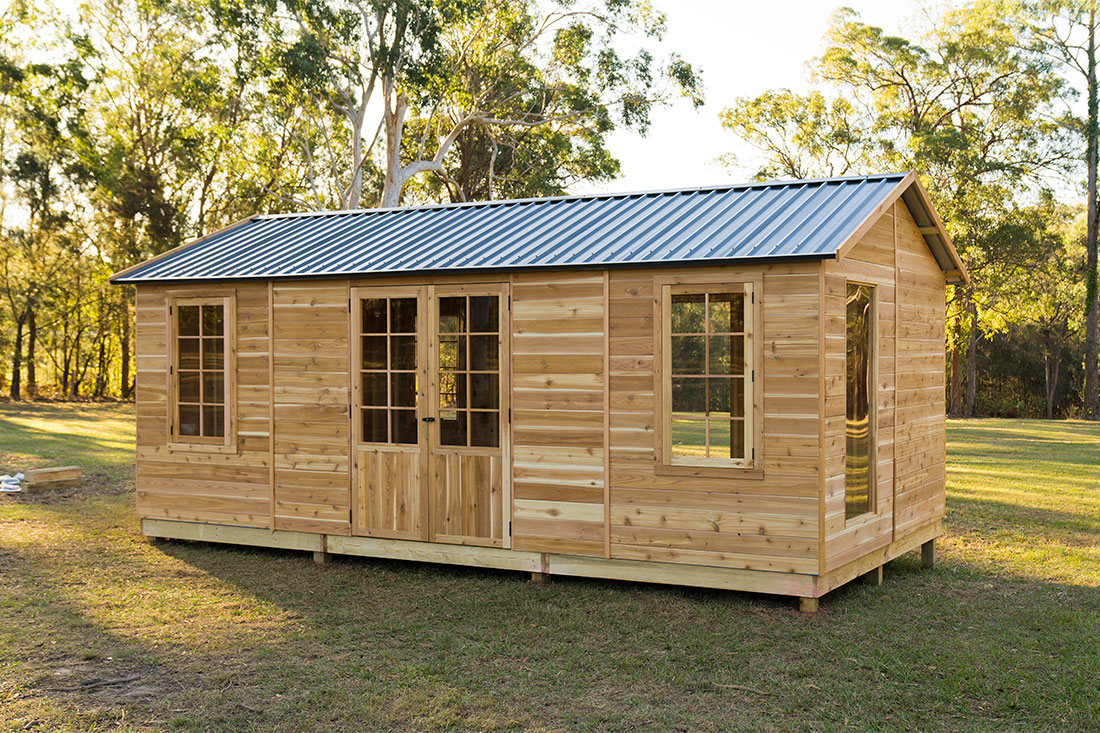
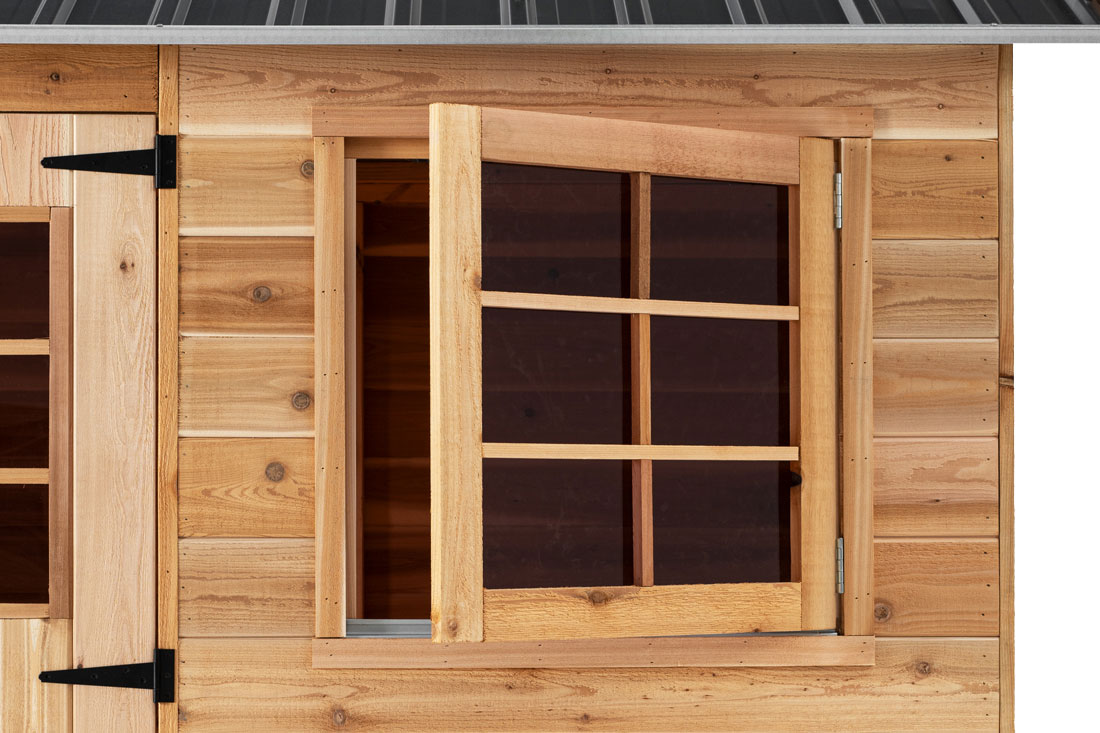
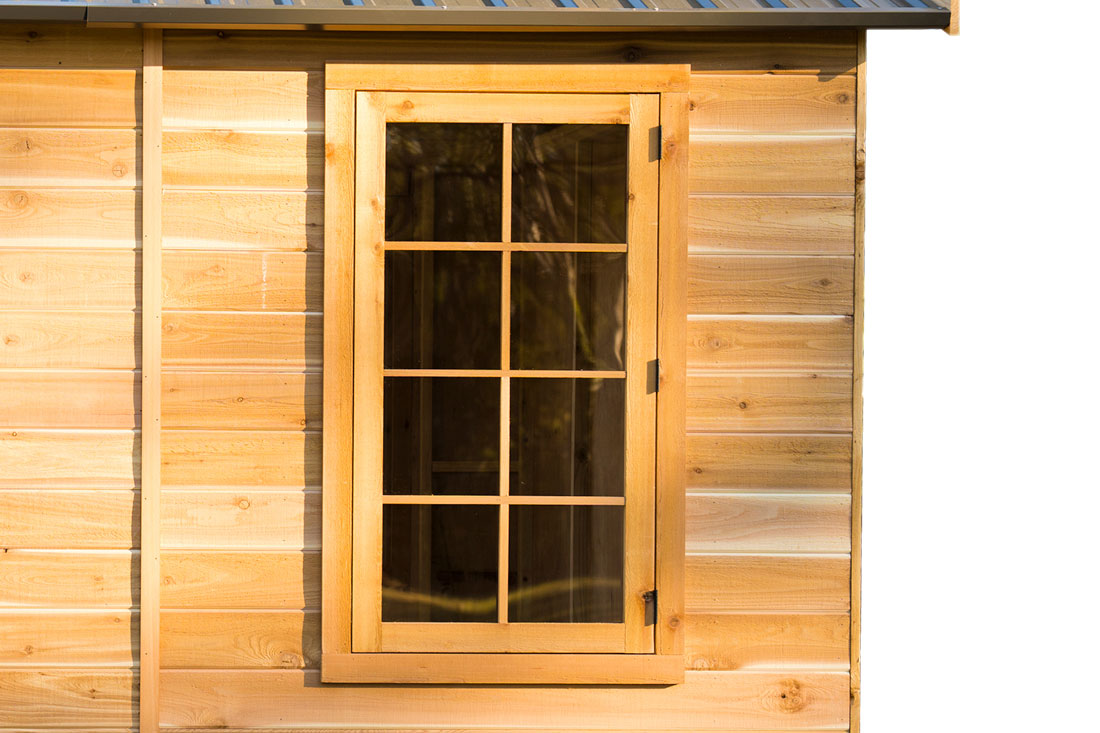
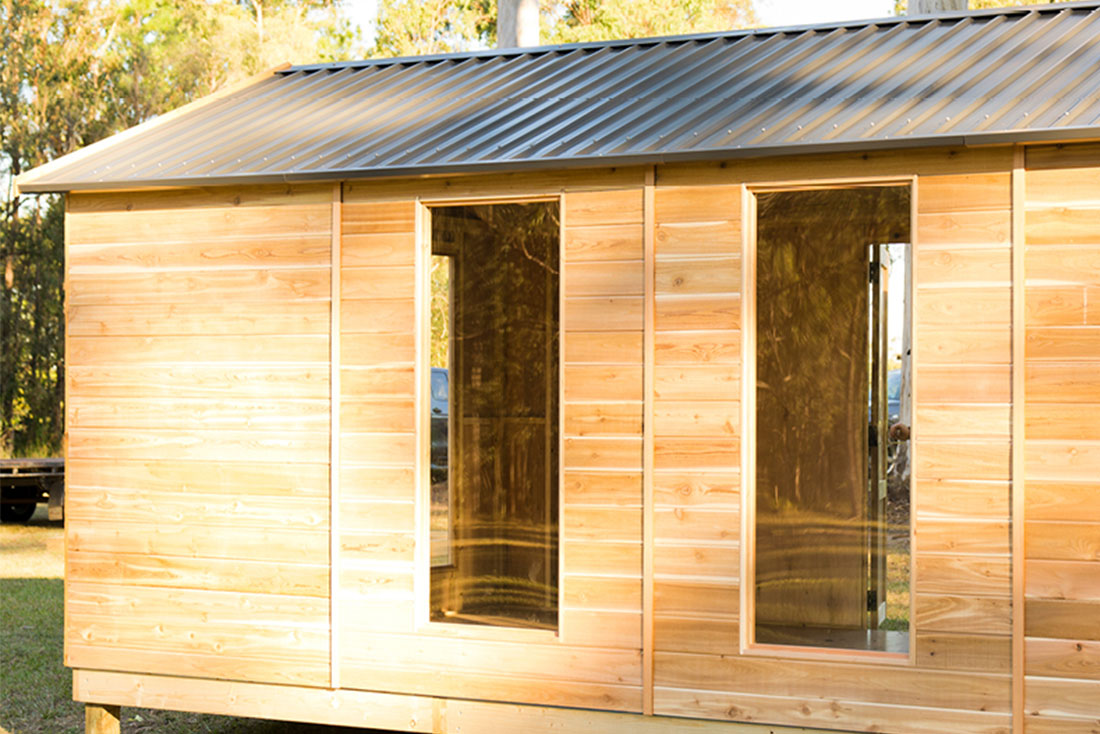
For the Hazel/Maple/Willow/Hollydean adding extra height will take the doors and windows one board higher, taking the doors from 1775mm high to 1875mm high.
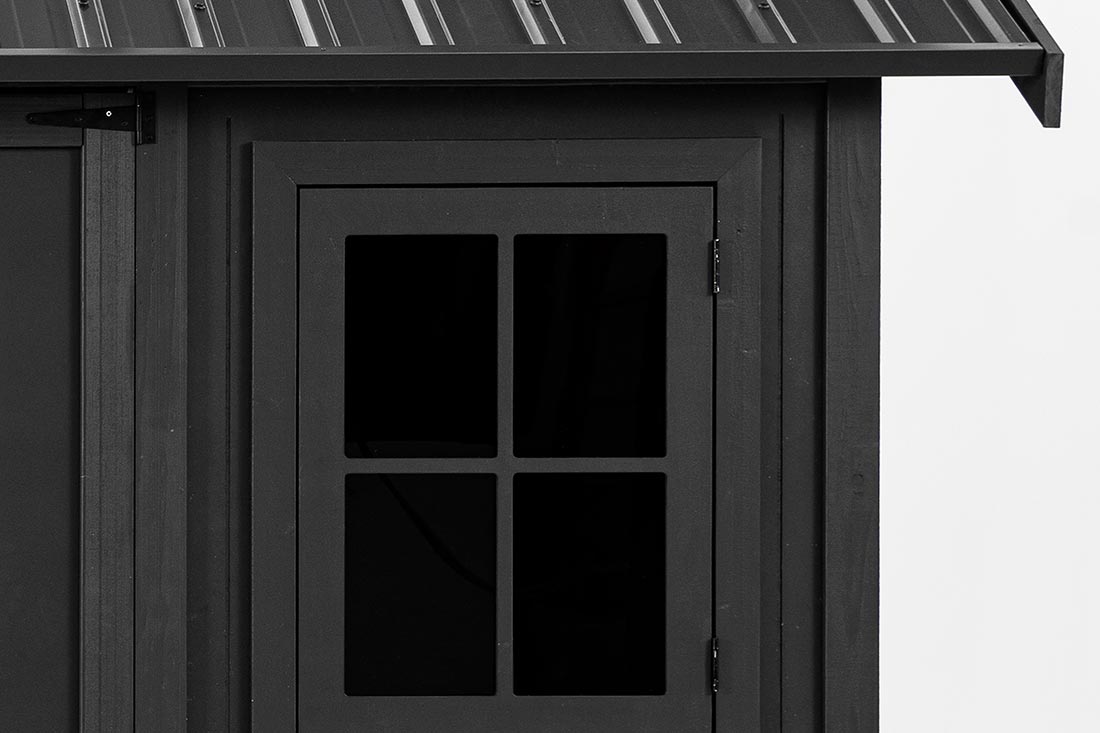
For the Oxford/Glendale/Bromley/Master/Chatswood the doors will remain at 1875mm high.
For the Jarrah/Oakley/Pioneer adding extra height will take the doors and windows one board higher, taking the doors from 1775mm high to 1875mm high.
For the Barakula/Beech/Spruce/Jacaranda the doors will remain at 1875mm high.

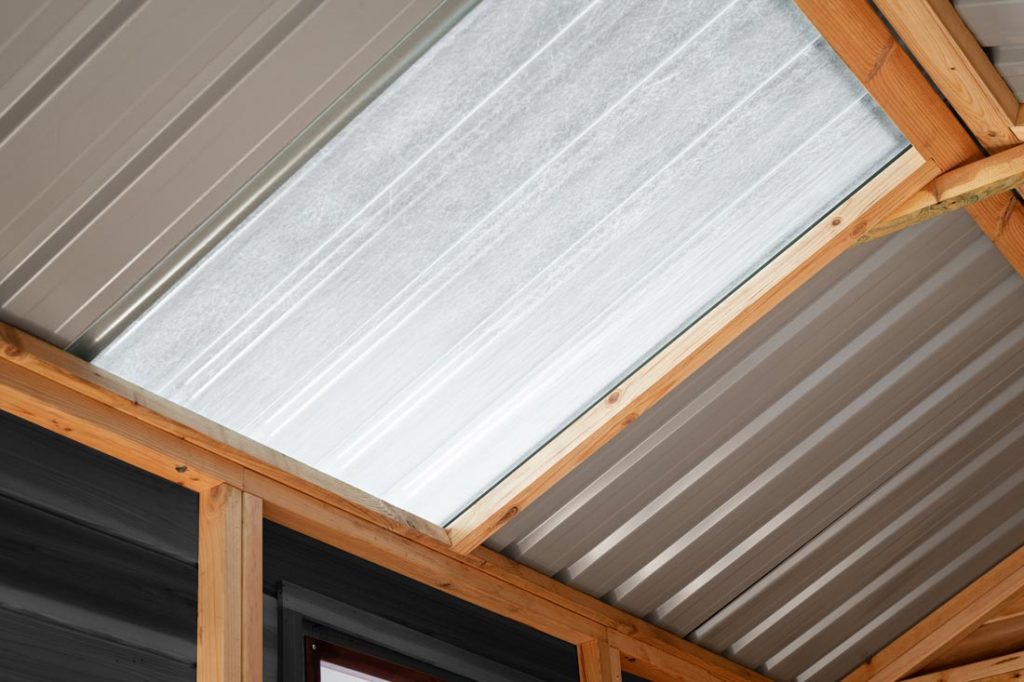
The skylight is a clear fiberglass panel that replaces one colorbond roof sheet.